DocsStart here
Deploy your first site in ten minutes
The short version of the whole thing: sign in, point us at a repository, press Deploy. Everything else in these docs is one of these steps explained properly.
Where this lives: Dashboard
You need a GitHub account and a repository that builds to a folder of static files — a Vite app, an Astro site, a Next.js export, or plain HTML. You do not need a server, a domain, or a credit card to get to the end of this page.
The five steps
- 01
Sign in with GitHub
Once your account is open, you sign in with GitHub. We ask for access to the repositories you pick, not to your account.
- 02
Create a project
Paste the repository URL. The project name fills itself in from the repository name, and it becomes your address.
- 03
Set the build
Choose the branch, the install and build commands, and the folder your build writes into — usually dist, out, or build. If you are unsure, check the framework presets.
- 04
Deploy and watch the log
Press Deploy. The build streams as it runs: clone, install, build, publish. A first build usually takes under a minute.
- 05
Open your site
When the log says HTTPS active, the address at the top of the project page is live. Your own domain can come later.
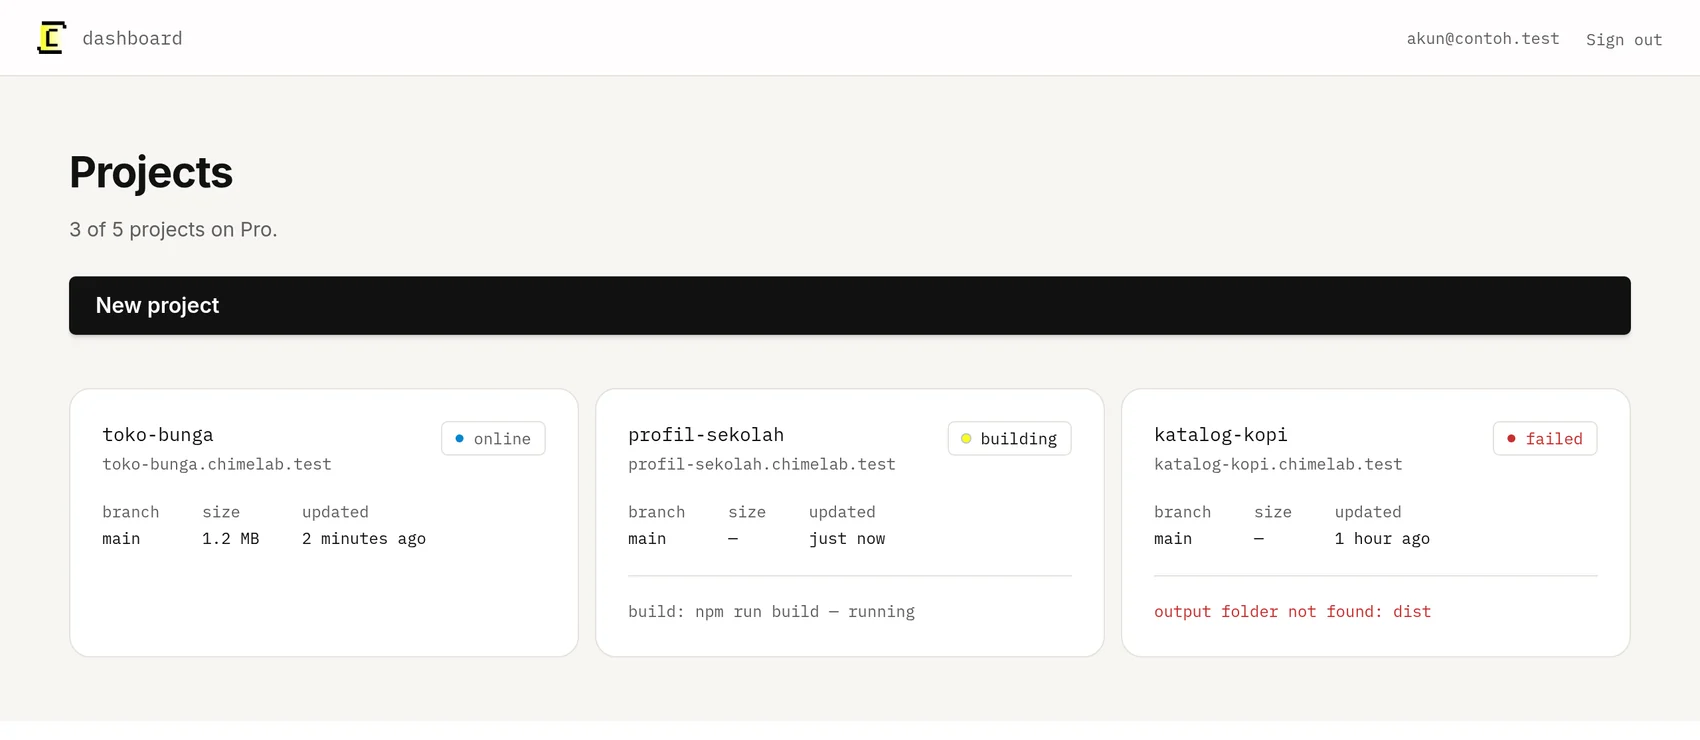
What happens after
Deploy again whenever you want the live site to catch up with your branch — or connect GitHub once and let every push do it for you. Previous deploys stay on disk either way, so you can go back to one at any time.